Aeropress Mania? Is It Real?
Happy New Year!
If you regularly read this blog, you know that we are dedicated to the pursuit of exceptional coffee and avid seekers of tips and tricks to enhance our coffee-making ability.
About six months ago we had a guest stop by the farm and ask if he could have 20 grams of coffee. He had brought his own kettle and his AeroPress and told us he travels for a living and always has the ability to make really good coffee wherever he is.
As the AeroPress was his only method of extraction and because I was intrigued to meet someone so serious about their coffee, we hooked him up. He then proceeded to make his 100% Kona Coffee AeroPress and shared the results with us. It was delicious!
Also Read: Getting The Most From Your 100% Kona Coffee
I had stopped using the AeroPress I had received as a gift long ago. I found it clunky and didn’t like the plastic. Now, I had to question my dismissal of this brew method as I was sipping a really well-brewed cup of coffee.
I later met a serious coffee fanatic who has tried an endless variety of extraction methods and he claimed if he was entering a competition, he would use his AeroPress. Again, I needed to question my bias and give it another shot.
The method I present to you here was his method, which I wrote down and reviewed with him step by step, but I will also include a few links to different variations of making your coffee this way.
As always, experiment, and find the way that works best for your needs.
What you will need
AeroPress
Compatible paper filters
20 grams of coffee grounds
320 grams of Filtered water at 200 degrees
A sturdy coffee mug
The AeroPress Step by Step
1. Place the piston just into the tube and invert it so that the end that you screw the filter cap onto is facing up.
2. Let’s use 320 grams of water (roughly 6 ounces) with 20 grams of coffee grounds. Recommended grind size is fine (smaller than drip but not super fine like espresso).
3. Add the coffee grounds into the canister.
4. Pour your 320 grams of water slowly over the grounds (30 seconds) at 200 degrees. Wait 30 more seconds.
5. Using a wooden spoon, or the plastic stirrer that comes with an AeroPress set, gently stir the coffee about 20 times (about 30 seconds).
6. After slightly rinsing your filter, screw on the cap with the wet filter inside. Press the upper tube just enough to push out any air.
7. Place your mug (inverted) on the cap and then very carefully turn the whole thing over.
8. Very slowly (taking about 30 seconds) press the piston to extract your coffee.
Two important things to note are that many like to brew a stronger extraction and then add hot water to taste (like an Americano) and others brew a standard cup. The recipe above is for a standard cup.
For cleaning, slightly pull back on your piston, unscrew the cap and eject the coffee puck and filter. Rinse everything with hot water and set to dry for tomorrow.
This is one of many ways to get the most from your AeroPress. For further study, we have included some video links for you to explore:
James Hoffman Standard Brew Method
2017 World AeroPress Champion
Inventor of the AeroPress
Let us know how it turns out and if you have any insights into making it even better.
Wishing everyone an amazing 2022!

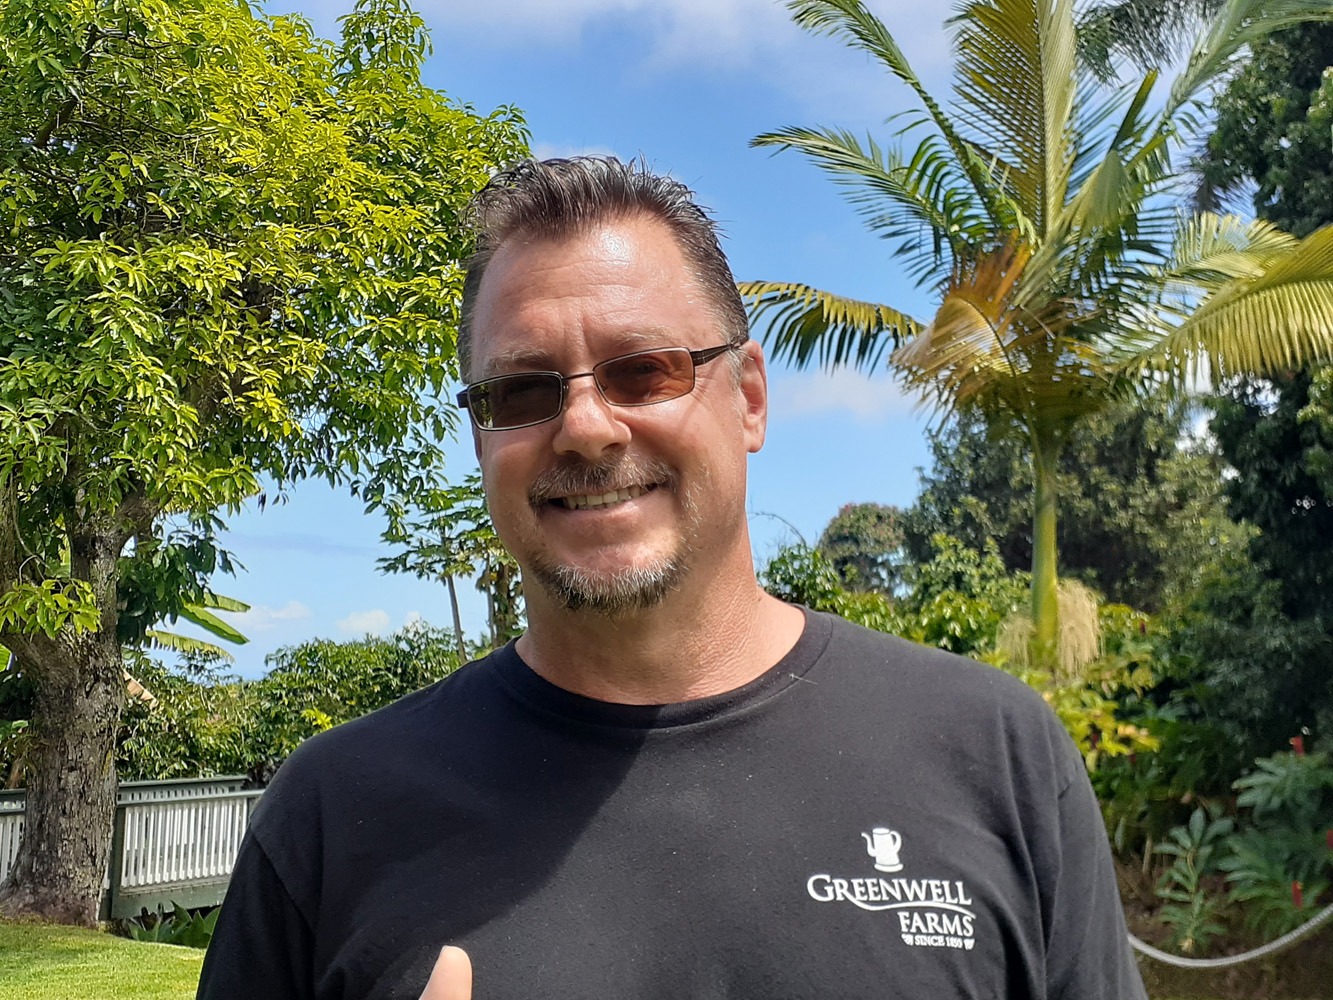
Matt Carter is a retired teacher (1989-2018), part-time musician, farmer, and currently manages Greenwell Farm’s Tour and Retail Store Operations.


I use my Aeropress all the time. Having several allows me to produce a great mug of coffee consistently with your Estate beans with family and friends.
Hey,
Happy New Year!! Thanks for explaining the aeropress step by step I will try it soon. Keep posting more blogs like this!!