Getting The Best From Your Moka Pot
In our quest to become better acquainted with the art of making coffee, I am looking at some different extraction methods. Last month we spotlighted the French Press. Today, let’s examine the Moka Pot.
I love my Moka Pot and use it often for both shots of espresso and making espresso-style drinks. It is convenient, easy to clean, not expensive, and always gives me an exceptional cup of coffee that is somewhere between a regular drip brew and a true espresso shot.
So, I was surprised to hear from some customers that they considered the Moka Pot a low-grade extraction process, and even more surprised that many comments on the internet suggest bitter and over-extracted coffee.
I couldn’t disagree more and suspect it is due to a few common mistakes that I hope to remedy for you today. So, if you have a Moka Pot tucked away in your cupboard and would like to revisit it, follow my steps below and see if you can notice the difference.
Since 1933 when this extraction method was created by Luigi di Ponti and brought to market by Italian engineer Alfonso Bialetti, it has been enjoyed around the world by millions of people who could now enjoy an espresso-style drink at home with investing in expensive equipment.
First Steps
Your Moka Pot should be sparkling clean. The residual coffee buildup will make your coffee taste bad. Make sure that you are using high-quality filtered water and have a potholder available.
Choose Medium, Medium Dark, or Dark Roast
1. Grind your coffee to medium fine. (Not as fine as for an espresso maker but a little finer than a drip maker.)
2. Pour hot (but not boiling water, 70-80 degrees is ideal) in the lower chamber right below the safety valve. You can see an indented line just below the valve, that is the waterline. Use the potholder to handle the base as it will be hot. (Note: Most people skip this step but the hot water shortens the brew time and keeps the coffee in the basket from “cooking”. I have found this step to be vital.)
3. Add grinds to the basket. Fill to the top (flatten with your finger) but do not tamp it down like you would in an espresso maker.
4. Screw on the top and place on the stove over a small flame. Make sure the flame is not heating the plastic handle as it will melt and be hot to the touch.
5. As soon as you hear gurgling, remove the pot from the flame.
6. Have a small bowl of cold water standing by and place the base of the pot in the cold water for 20 seconds. Some people hold it under the faucet. You want to stop the brewing process in its tracks.
7. Immediately pour out your coffee into a cup(s) and enjoy black or with warm or steamed milk.
I personally find I get elegant flavors, a little more body, and the richness I am looking for in an espresso shot.
Let me know how it turns out!

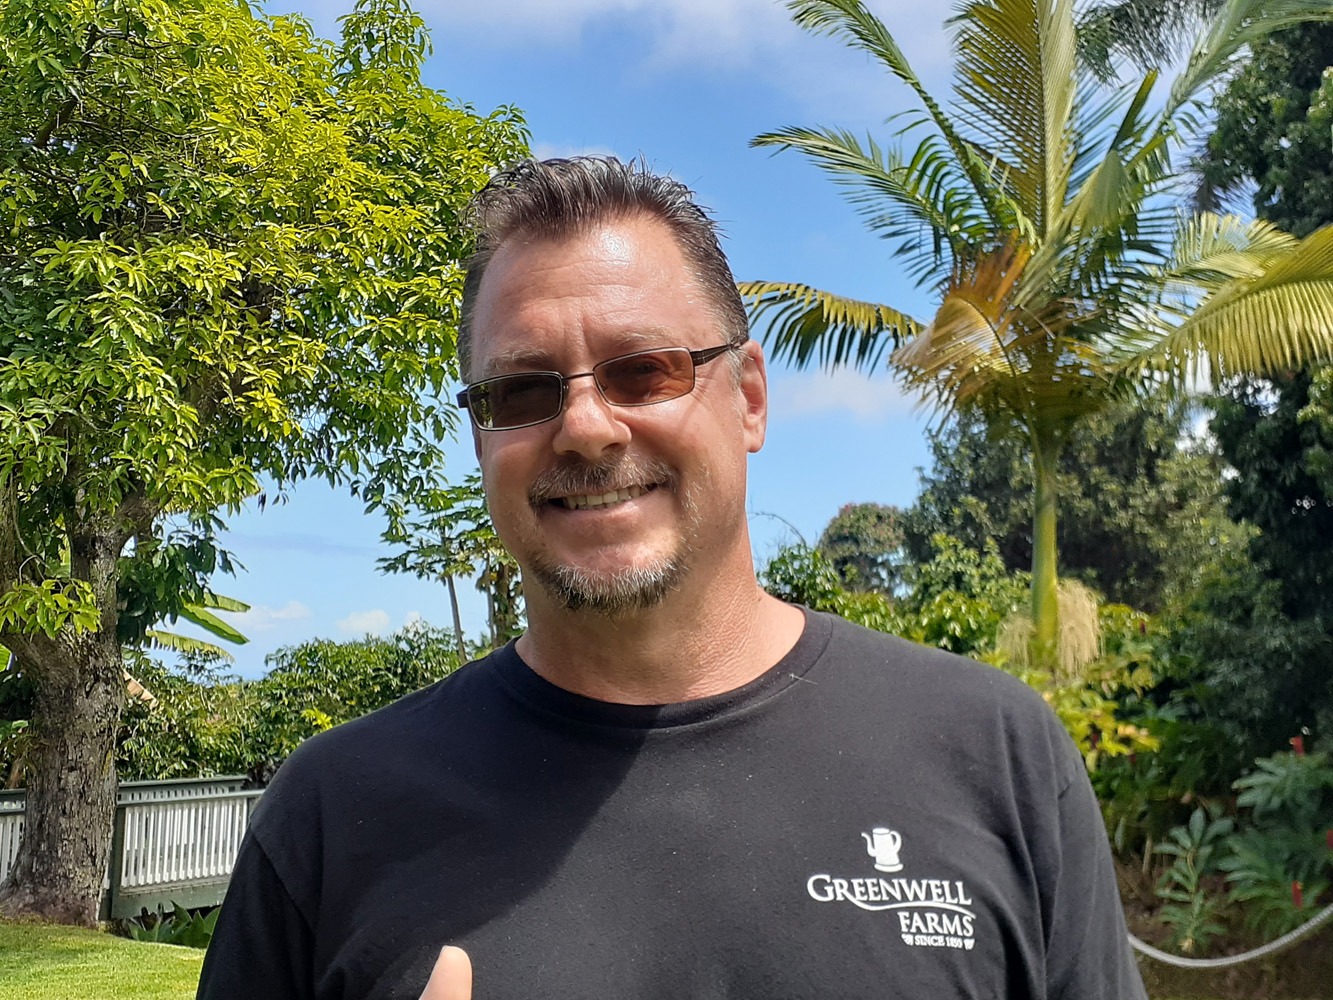
Matt Carter is a retired teacher (1989-2018), part-time musician, farmer, and currently manages Greenwell Farm’s Tour and Retail Store Operations.


I use Illy coffee in a moka pot, and go directly to the stovetop with the water temperature coming from the tap. What I do to get the most out of the coffee is to set the flame very low, so it takes a while for the coffee to brew.
Interesting George. It just shows how personal coffee is. Everything I have read suggests that the shorter the brew time the better for the Moka pot, which is why I pre-heat the water.
been enjoying the Peaberry coffee in my Brika MokaPot. It’s been quite delicious.